So I thought in today's post I will guide you on how to cut one. I will be working on a video sometime at a later date.
Ok these are the tools that is needed for this project:
Soft Drink Cans
Knife
Scissors
Paper Towel

STEP 1:
The first thing you need to do is rinse out your cans and let them dry.

STEP 2:
*Safety Warning*
Now before you start cutting your tin can you should be very careful as to not cut yourself or getting any tin shards in your eye. You might want to get some protective goggles and a pair of leather gloves for your safety. I didn't have these on hand so I was extra careful when I was cutting and taking my time with care and patience.
Puncture two holes in the can with your knife.

STEP 3:
Now use your knife to cut in between the two punctures to create an "I" figure. Like so.

STEP 4:
Using your scissors, start cutting along one side to about half way then flip over and cut all the way through to the end of the can. Then finish the other side.

STEP 5:
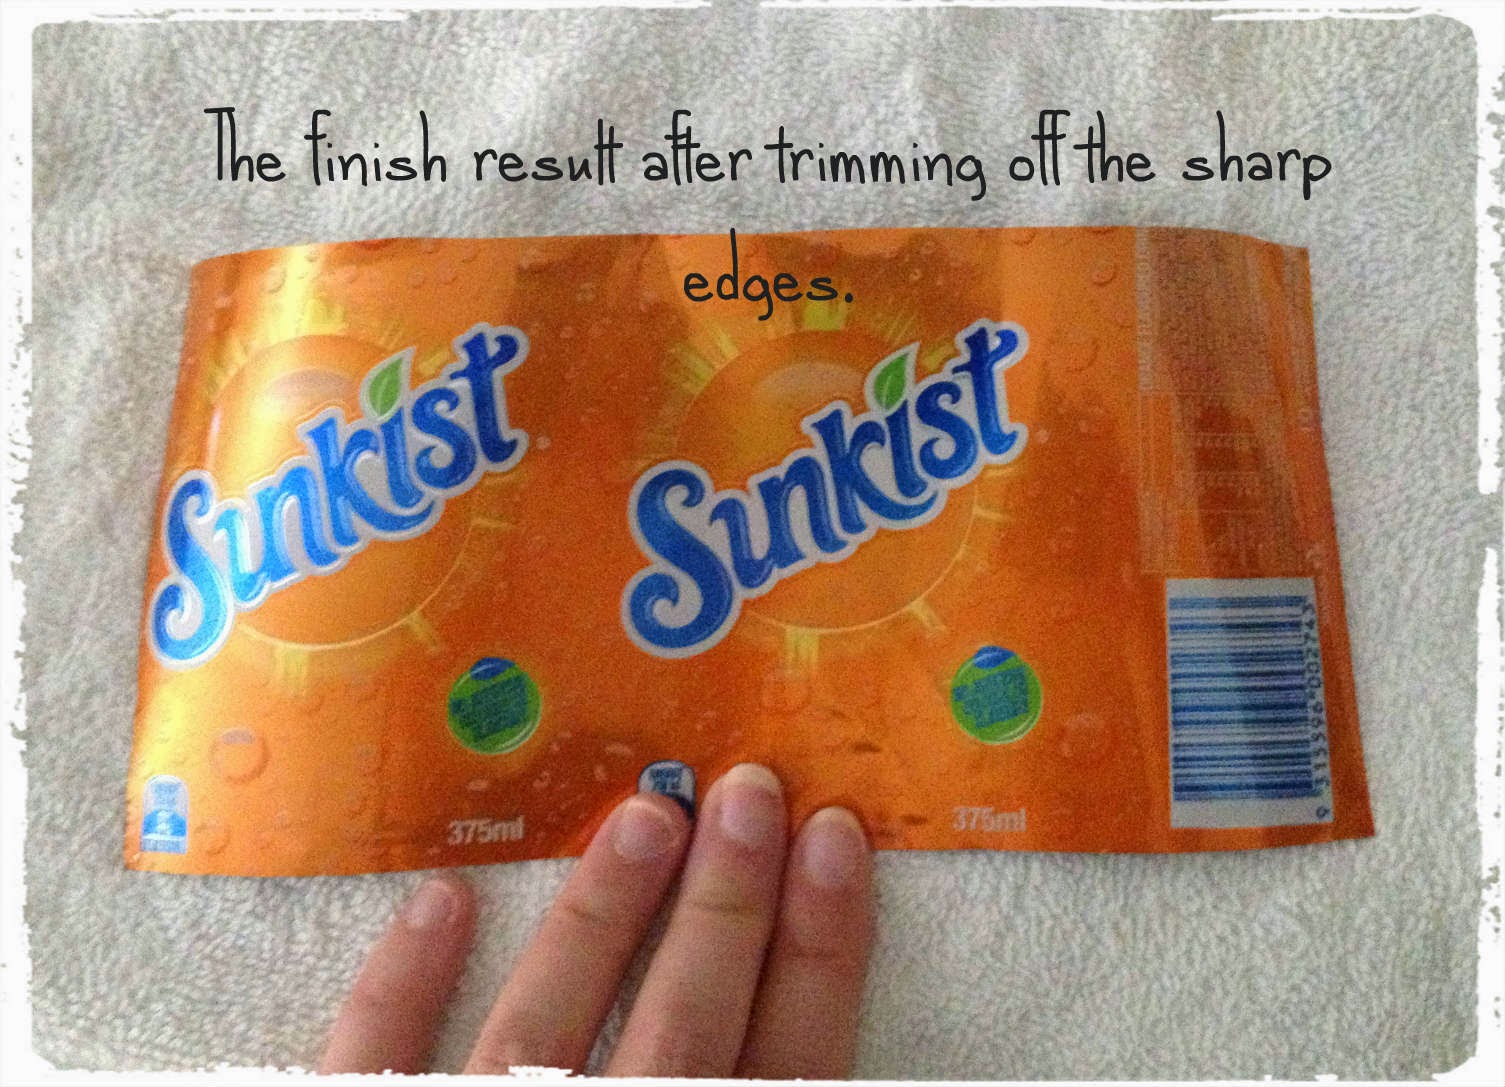
Now your can should now look like this.

Trim the edges to get rid of any sharp bits.

And you have yourself a piece of aluminium.

And that concludes my my first tutorial. I hope you found this post informative. I had fun doing this =)
Stay tuned for part 1 of my Sailor Scouts Tiaras made from these Aluminium Cans.
No comments :
Post a Comment