I have only recently stated liking hair bows. Now I am not really a girly kind of girl and don't really wear bows in my hair.
But I have come to fall in love with all kind of bows like cute cats, music notes, superheroes etc. And I can't wait to make more of these in different styles as well as fabric bows and expand my hair bow collection.
I was inspired to write my own tutorial from Instructables and The Ribbon Retreat Blog, while I was searching for hair bow tutorials on Google.
I am going to do my best at showing you how to make a Satin Bow.
 |
| My first satin bow I made. |
I do hope my tutorial will be easy to understand. I tried to get as many pictures as I could for this tutorial.
And I hope you enjoy making and wearing these lovely satin bows.
*If anyone wonders why I have a few different types of backgrounds, it is because I had to do a few takes with this tutorial.... I did make a joke on Facebook that it would take me all day. Turns out it did! And I also tried to make it the one colour purple but I didn't quite get there.
You need these materials to make this bow.

MATERIALS NEEDED:
* Satin Ribbon
* Ruler
* Needle & Thread
* Scissors
* Lighter
* Glue Gun
And I hope you enjoy making and wearing these lovely satin bows.
*If anyone wonders why I have a few different types of backgrounds, it is because I had to do a few takes with this tutorial.... I did make a joke on Facebook that it would take me all day. Turns out it did! And I also tried to make it the one colour purple but I didn't quite get there.
You need these materials to make this bow.
MATERIALS NEEDED:
* Satin Ribbon
* Ruler
* Needle & Thread
* Scissors
* Lighter
* Glue Gun
First you need to cut your ribbon. You need 2 strips of 8 inch ribbon and a small piece at 2 inches.

Seal your ribbon ends by ether using your preferred method or by using the lighter. Like I did.


Now get some double sided tape or fabric adhesive and put it on one end of the ribbon.


After you thread your needle. Run the needle through the middle of your ribbon.

Pull the needle through and wrap the thread around the bow a few times and secure using the thread.

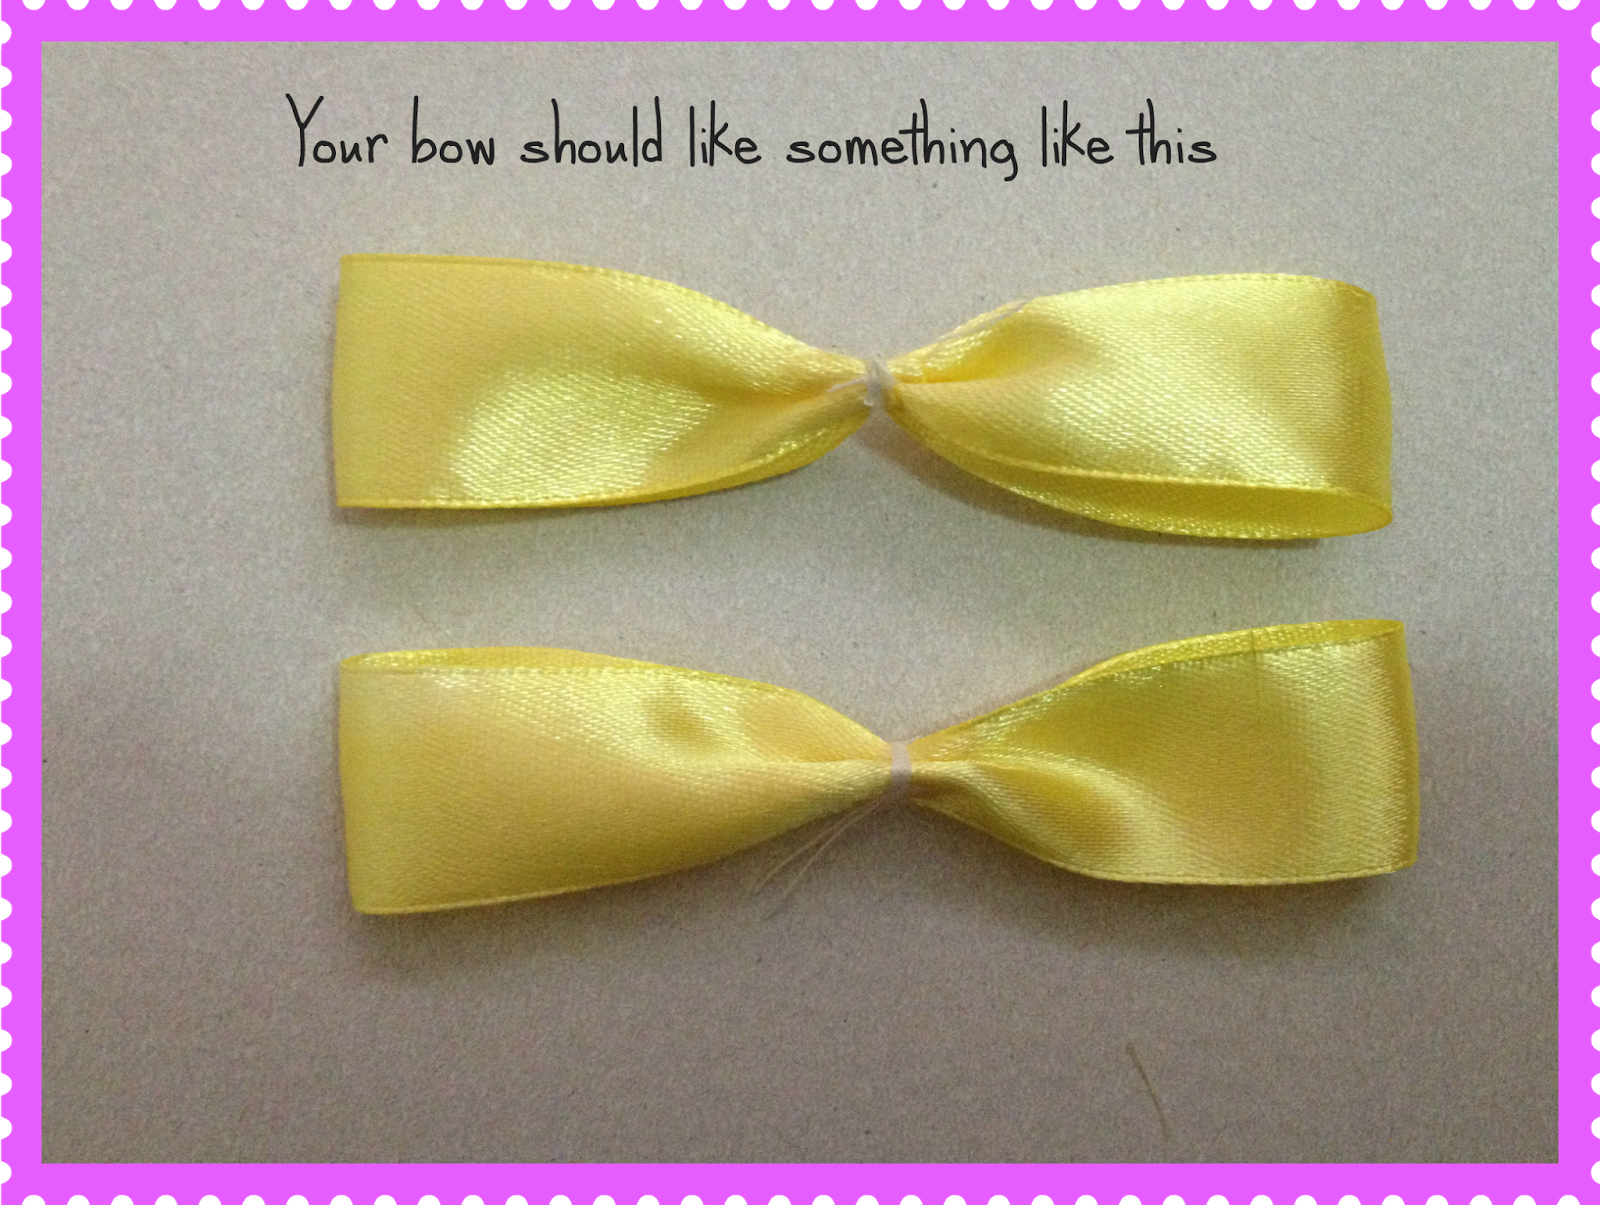
And here is your first bow done. Now repeat the previous steps to make another one and you should have two bows that look similar.
Using your needle and thread again, stitch the two bows together like you did with the singular bow.

And now you have a bow just needing the final touches.

Now using the smaller piece of ribbon, get the double sided tape (or fabric adhesive) and stick to one side length ways. then fold over.

Dab some hot glue to the middle of the bow and place one end of the smaller ribbon over the glue and hold for a few seconds.

And wrap around the middle of the bow and secure the end with another dab of hot glue. Trim off any excess ribbon.

And voila! Congratulations you have just made a bow.

To make these wearable, you will need a crocodile clip.
Get a crocodile clip and just slide it through the back of the bow where the crease is.

And that concludes my tutorial on how to make a Hair Bow. I do apologize with how long the post is, but I wanted to make sure I got all the steps that I went by.
It also took me two days to create this post. Who would have thought that this would take me this long to write it.
~ Wendy

Get a crocodile clip and just slide it through the back of the bow where the crease is.
And that concludes my tutorial on how to make a Hair Bow. I do apologize with how long the post is, but I wanted to make sure I got all the steps that I went by.
It also took me two days to create this post. Who would have thought that this would take me this long to write it.
~ Wendy
2 comments :
Love it. What a lovely idea from a lovely lady. We are looking for craft ideas for people with disabilities to make and also sell on SFI. If you could put a price on say 50-100 I could sell them for you. But I guess you don't live in NZ.Shipping would cost to much. Maybe you could look at SFI. If google BBB the American stnd authority, you will see it has a bronze. Many companies don't even have a ranking let alone bronze for 15 years. Link http://www.sfi4.com/14606994/FREE
My emails are allanhealey07@hewhetokotrust.com
allanhealey07@gmail.com
Post a Comment