Showing posts with label Homemade. Show all posts

Thursday, August 28, 2014

DIY Hair Bow and Chokers

Ok so I know I haven't been non here in a while. I have had a bad case of writes's block, and I still have it. But while I've been going through that I have been making a few hair bows and I also got around to making a choker.

I am still working out the kinks in both my hair bows by finding easier ways to make them. And I also need to work on a tutorial on my choker.

But for now, I just want to show you what I have been doing in the mean time.

The first two pictures are my hair bow that I have been practicing. This time I am using a mesh ribbon with just some double sided tape and my hot glue gun.

As I keep practicing, I am getting more better at it and now I have a lot of awesome bow ideas that are coming to mind. I might have to start sketching some of these ideas to remember what I want to make at a later date and when I have the right materials.

My first use of the mesh ribbon. I actually recommend using this type of ribbon as it isn't flimsy like the satin ribbon.

Slightly getting better at making my bows.
As much as I love using the satin ribbon. The mesh ribbon as become my favourite to use.


Now for my chokers.

I did do a test choker just to see how well it would turn out for me. I pretty much followed the instructions from Lady Spleen, and her Diy Velvet Ribbon Choker.

Test Choker made from Zebra Print Grosgrain Ribbon


Now even though it looks plain. It was the whole point to it being a "tester". I didn't want to make something that wasn't going to work for me. But in the end, it actually came out better than I expected. Yes it was a little loose around my neck as my measurements were off by a centimeter.

Then the next day, I decided to play it up a little and try a satin ribbon choker. This time adding a Dolphin Cameo.
My Dolphin Choker that I'm quite proud of.

I have to say that I am quite proud of this one. It's only my second choker that I made, but I just absolutely love it.

Sunday, August 3, 2014

Tutorial on how to cut an Aluminium Can

I am working on a Sailor Moon project that requires me to use aluminium cans.

So I thought in today's post I will guide you on how to cut one. I will be working on a video sometime at a later date.


Ok these are the tools that is needed for this project:

Soft Drink Cans
Knife
Scissors
Paper Towel


STEP 1:

The first thing you need to do is rinse out your cans and let them dry.


STEP 2:

*Safety Warning*
Now before you start cutting your tin can you should be very careful as to not cut yourself or getting any tin shards in your eye. You might want to get some protective goggles and a pair of leather gloves for your safety. I didn't have these on hand so I was extra careful when I was cutting and taking my time with care and patience.


Puncture two holes in the can with your knife.


STEP 3:

Now use your knife to cut in between the two punctures to create an "I" figure. Like so.


STEP 4:

Using your scissors, start cutting along one side to about half way then flip over and cut all the way through to the end of the can. Then finish the other side.


STEP 5:

Now your can should now look like this.


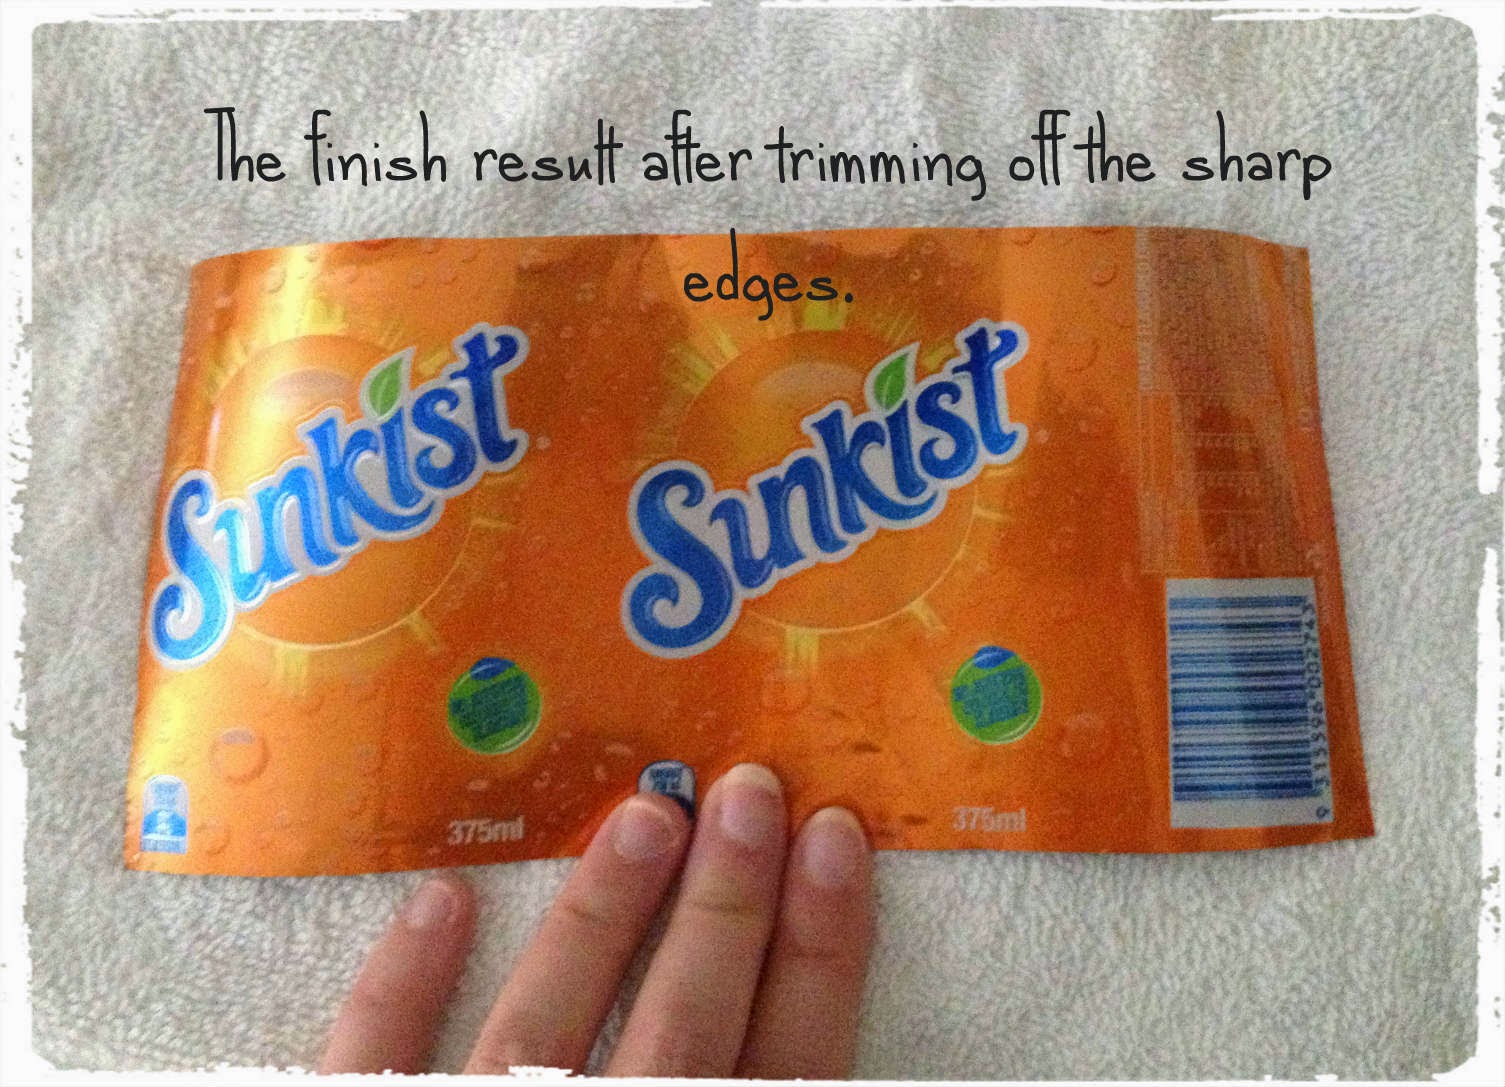
STEP 6:

Trim the edges to get rid of any sharp bits.


And you have yourself a piece of aluminium.


And that concludes my my first tutorial. I hope you found this post informative. I had fun doing this =)

Stay tuned for part 1 of my Sailor Scouts Tiaras made from these Aluminium Cans.

Monday, July 28, 2014

New Challenge!

I have a new challenge set in front of me...

Picture is taken from Kevin & Amanda 


I have been challenged to make homemade ice cream. And the biggest clincher is that my partner wants to get in on the challenge.

My partner wants to make a coffee and vanilla ice cream.

And I am wanting to do a chocolate cookie dough ice cream.

Looks like I will be hitting the recipes sites to help me make this awesome ice cream!